This article provides users with a general guide to the features listed.
These features may have been updated or superseded by additions found in the release notes.
Read the content below to become familiar with the feature and review the release notes to get the latest iteration.
Overview
Goliath provides several ways to save work
Queries, scripts, the workspace, and query results can all be saved
Below walks though how to save in each of these options
How to Save Query/Script
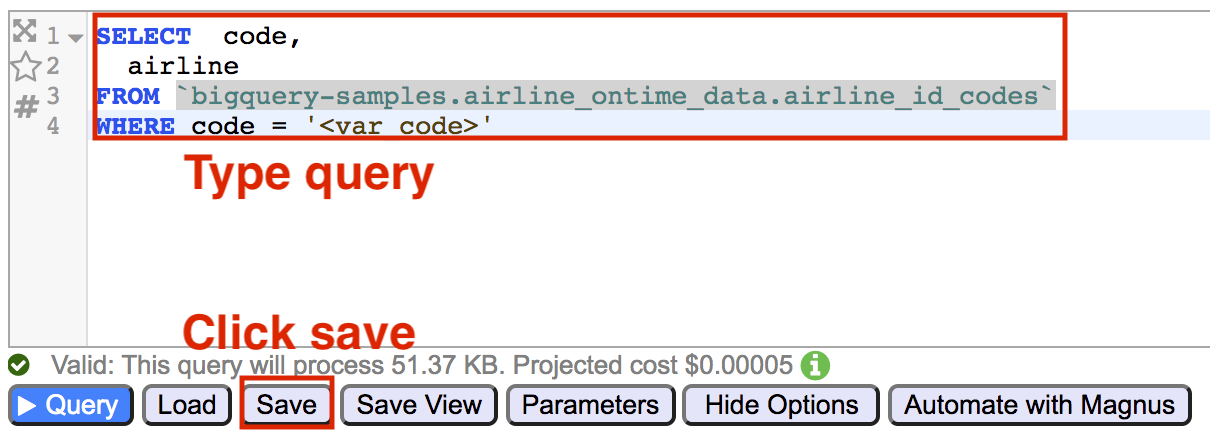
Queries created in Normal and Enhanced mode and Scripts created in GoBQ mode can be saved locally
1. Click on Save (Save Query/Workspace) button to bring up save dialogue

2. Add name in Filename input box
3. Uncheck Include Options and Include Parameters
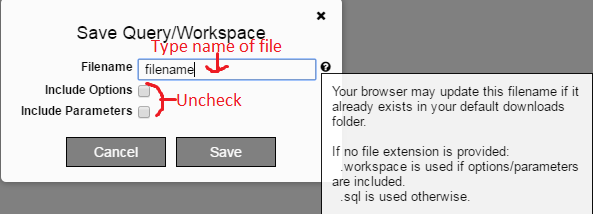
4. Click Save
a. The file will be saved to the default location
How to Save Workspace
Goliath workspace consists of query, script, parameters, and query options
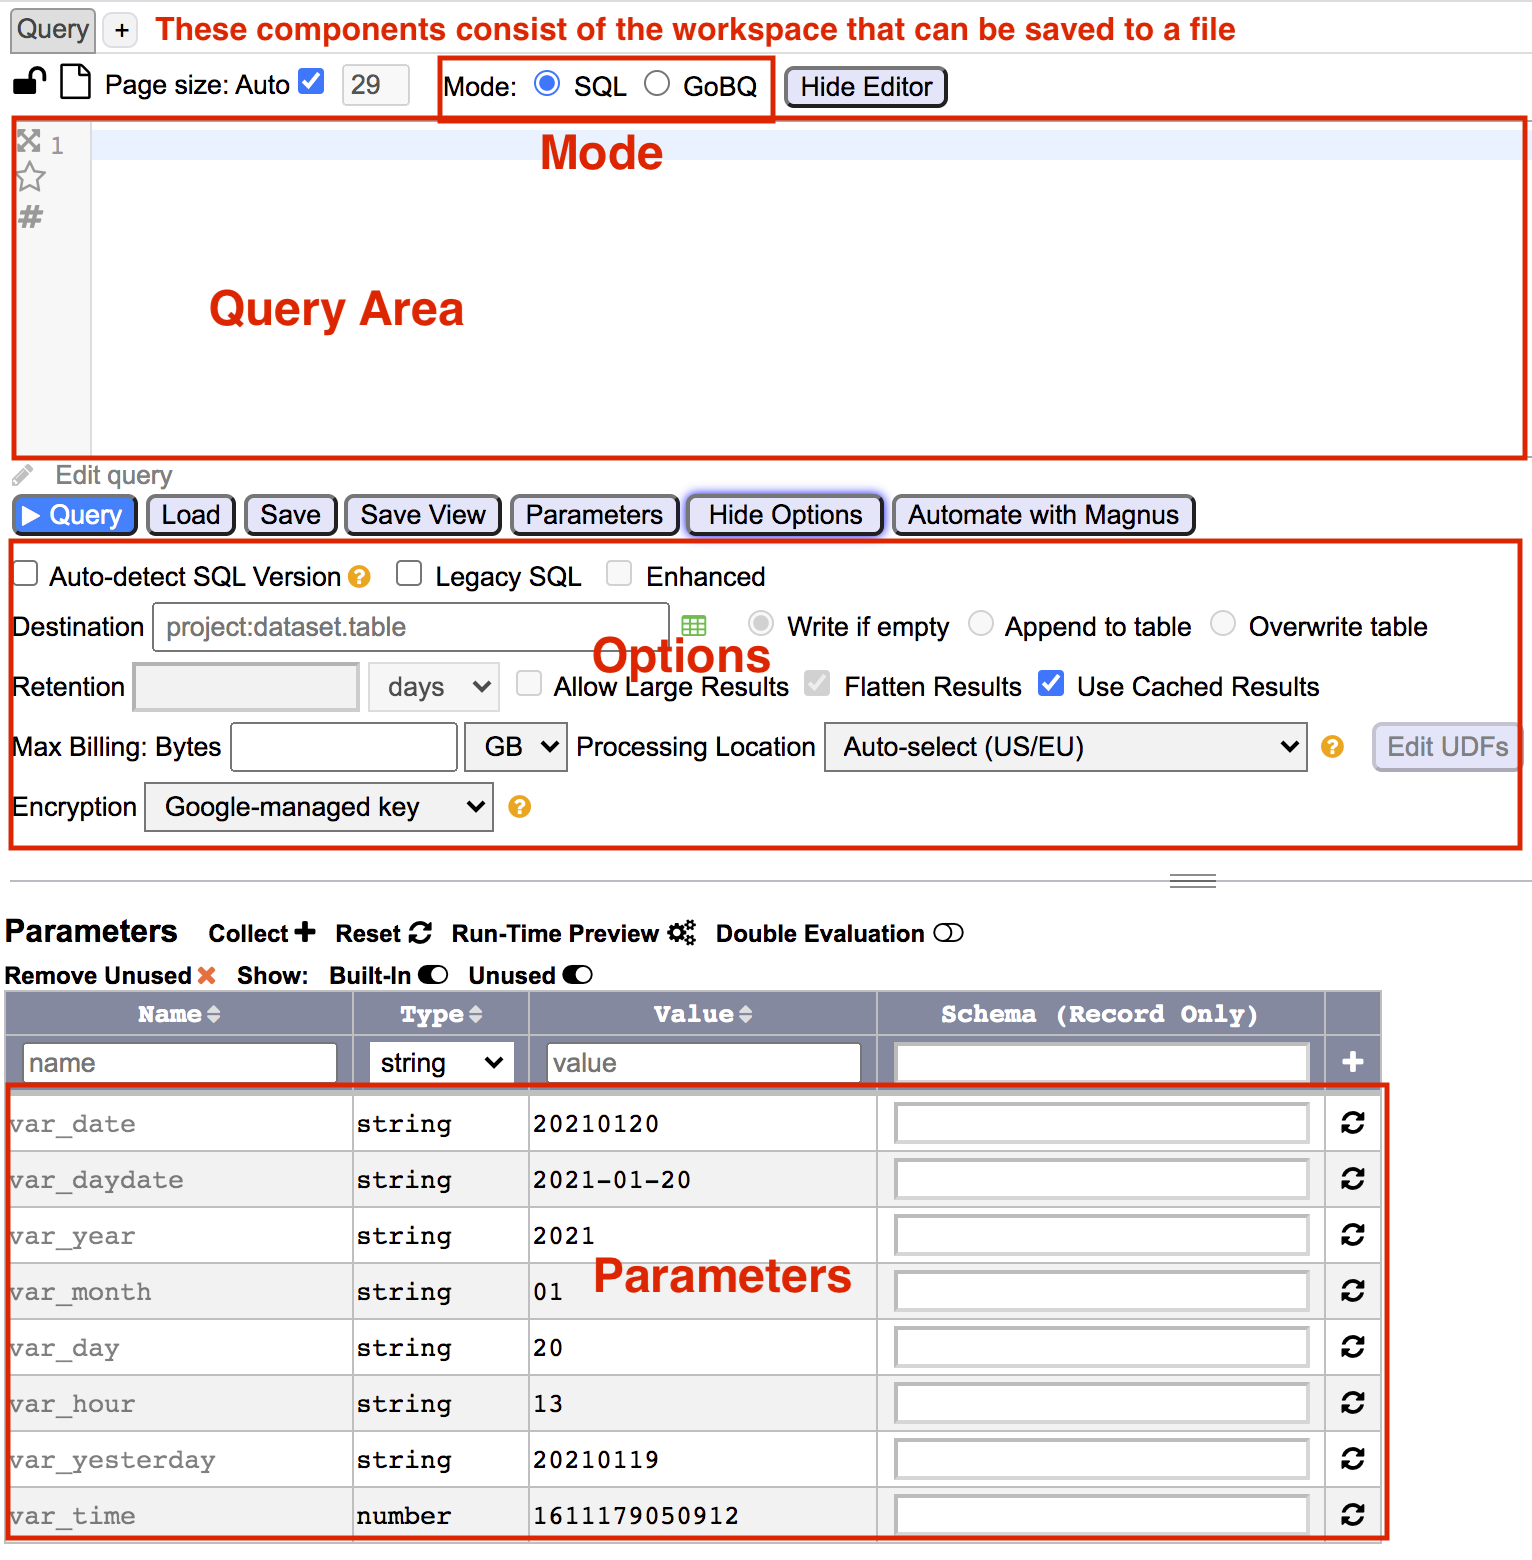
To save workspace with query options and parameters
1. Click on Save (Save Query/Workspace) button to bring up save dialogue
2. Add name in Filename input box
3. Check Include Options and Include Parameters
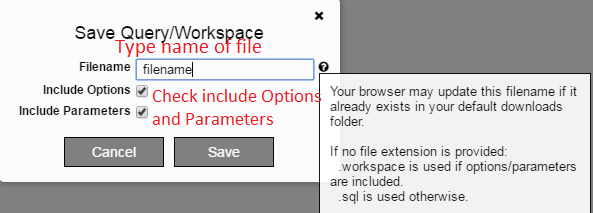
4. Click Save
5. The file will be saved to the default location
To save workspace with parameters
1. Click on Save (Save Query/Workspace) button to bring up save dialogue
2. Add name in Filename input box
3. Uncheck Include Options
4. Check Include Parameters
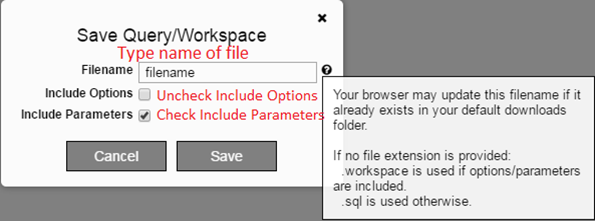
5. Click Save
a. The file will be saved to the default location
To save workspace with query options
1. Click on Save (Save Query/Workspace) button to bring up save dialogue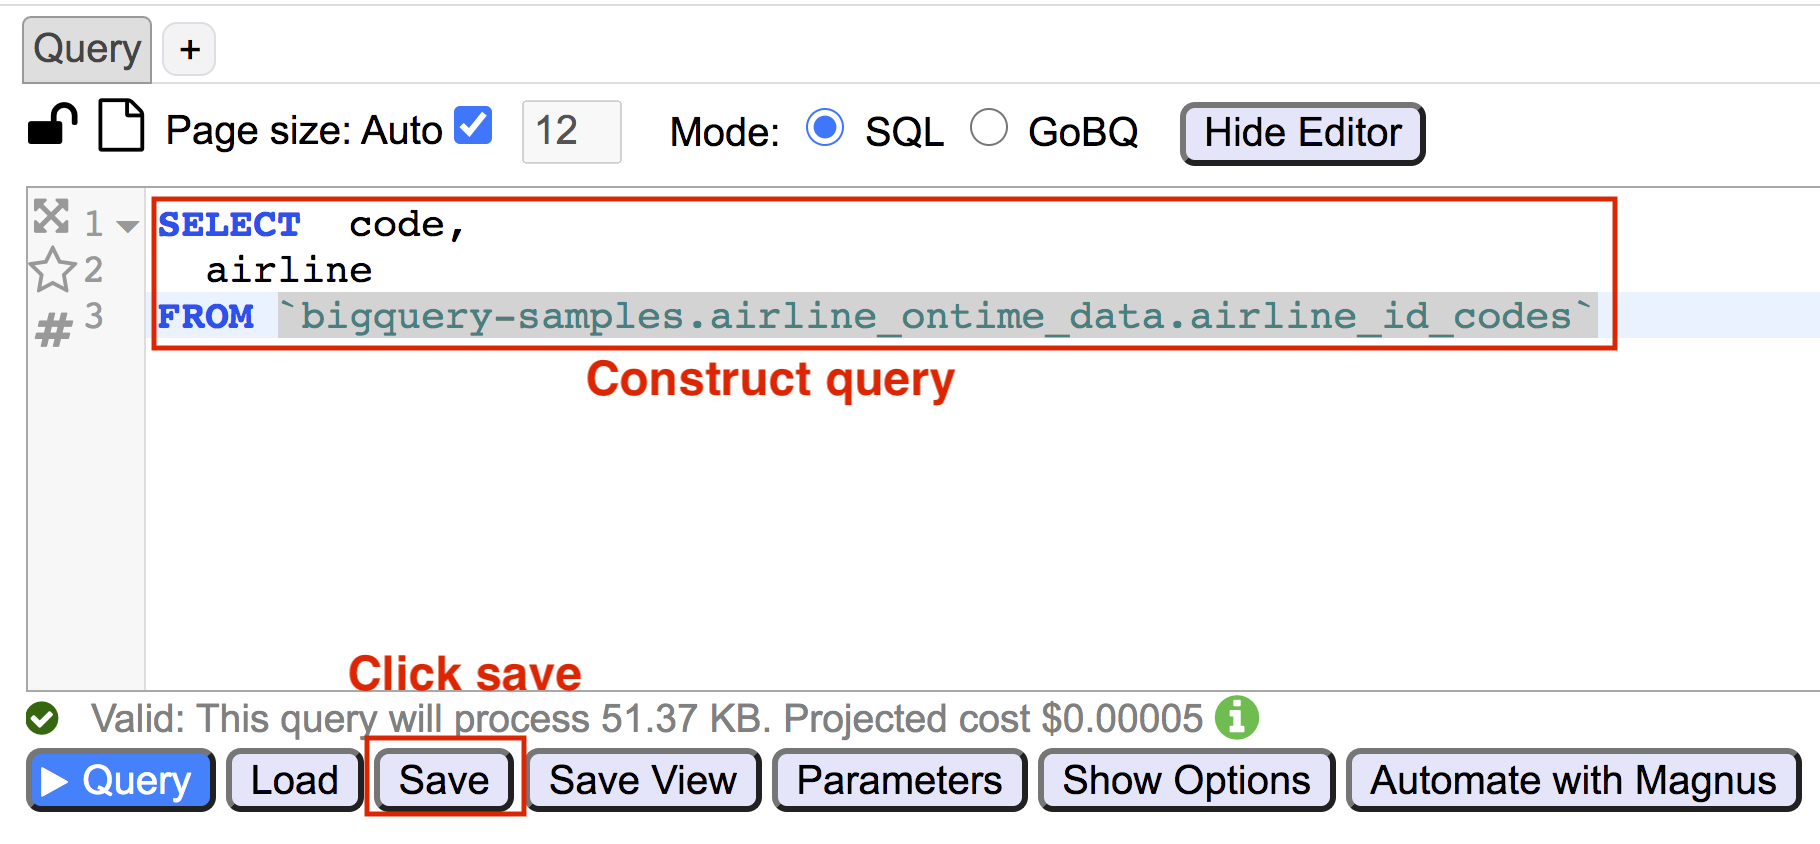
2. Add name in Filename input box
3. Uncheck Include Parameters
4. Check Include Options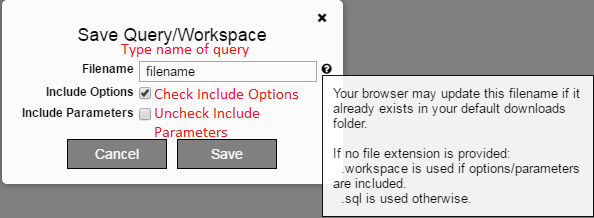
5. Click Save
a. The file will be saved to the default location
How to Save Download Result
Results from a query can be saved to a local file by downloading results
1. Run query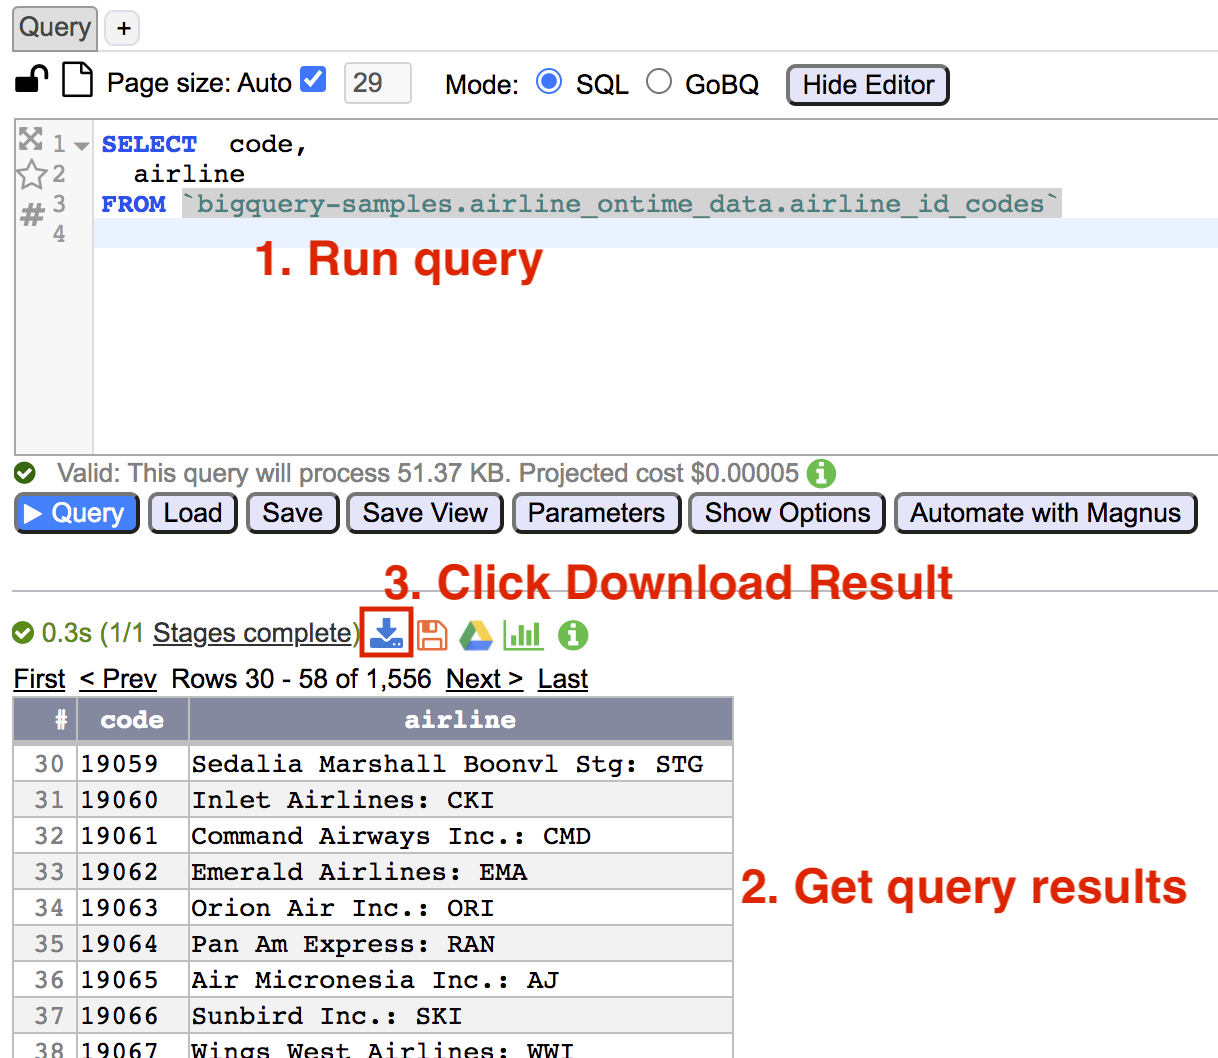
2. From toolbar click Download Result icon
a. If results are not large they can be directly downloaded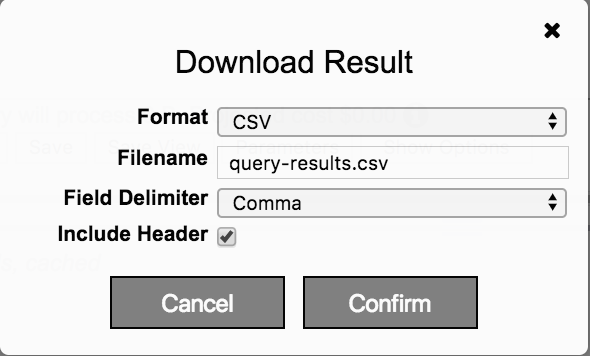
a.1. Select format from dropdown (CSV, JSON)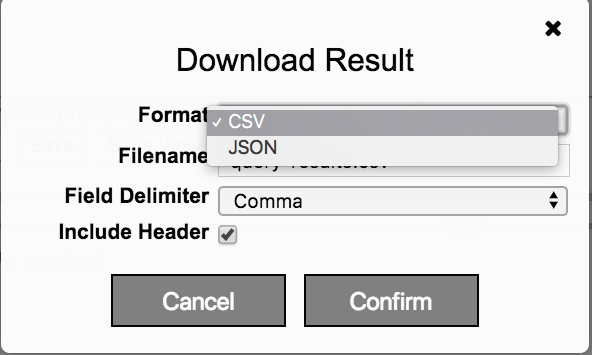
a.2 Type name of file in file name
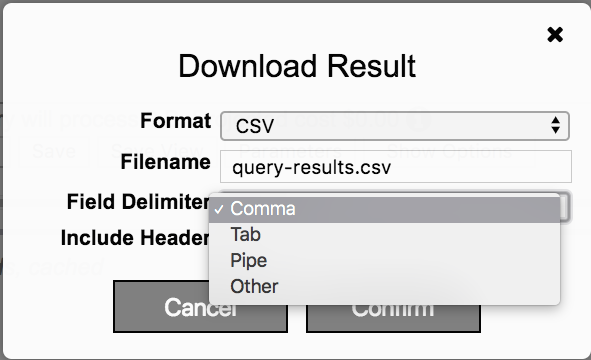
a.3 Select field delimiter from dropdown (Comma, Tab, Pipe, Other)
a.4 Check to include header in results or uncheck to not include header
b. If results are large the file is first uploaded to Google Cloud Storage and then downloaded
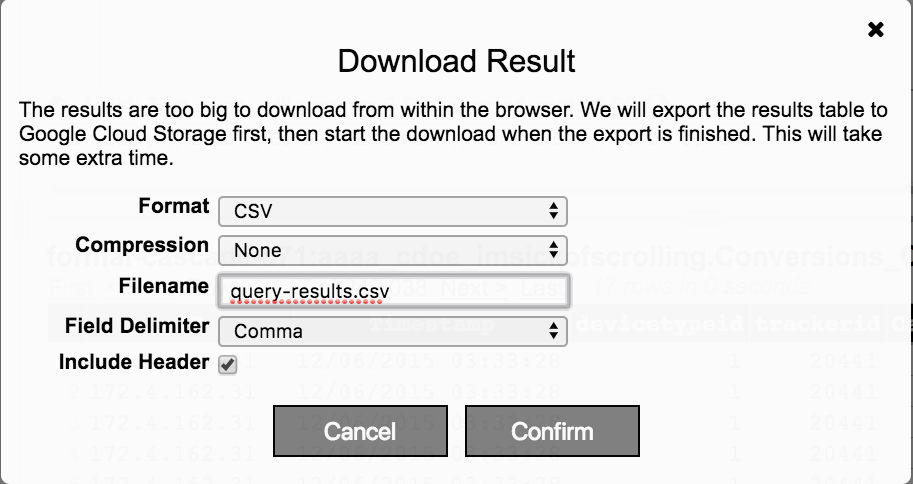
b.1 Select format from dropdown (CSV, JSON, AVRO)
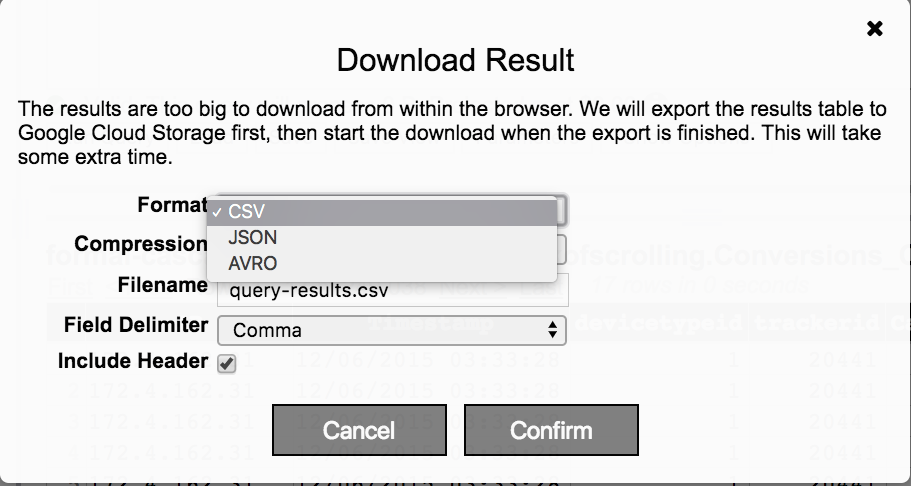
b.2 Select compression (None, GZIP)
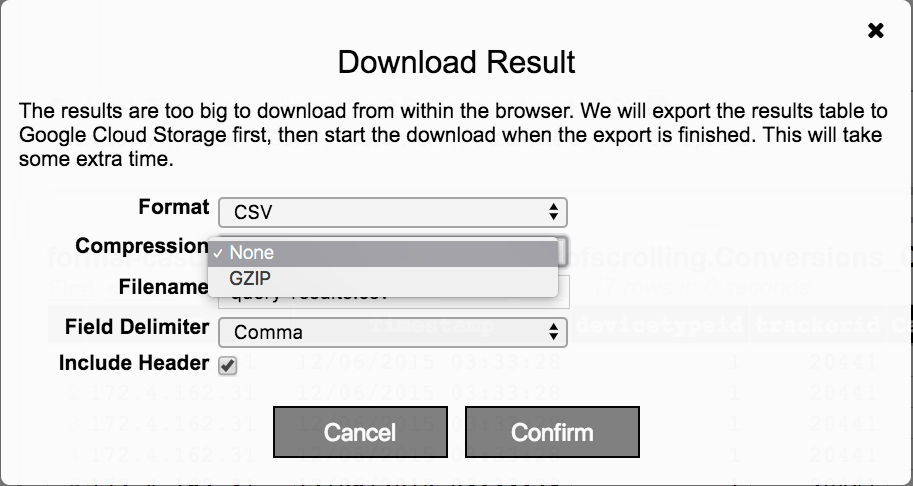
b.3 Type name of file in file name
b.4 Select field delimiter from dropdown (Comma, Tab, Pipe, Other)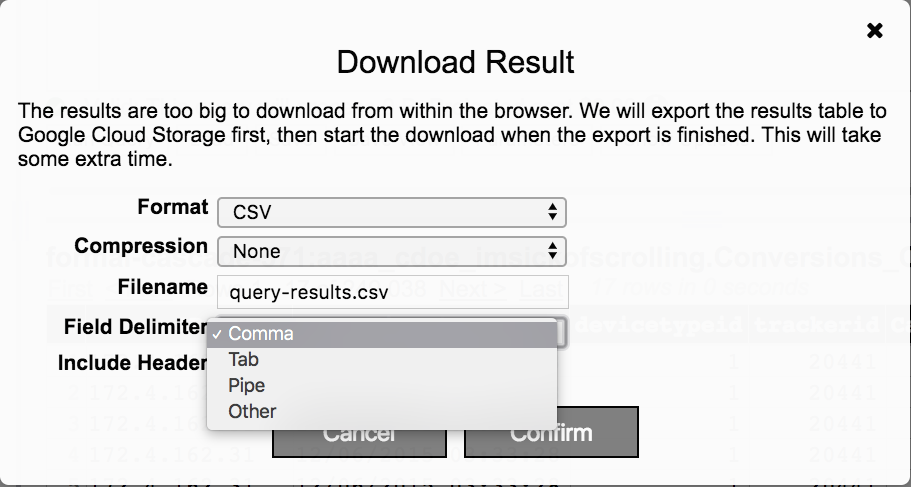
b.5 Check to include header in results or uncheck to not include header
3. Click Confirm
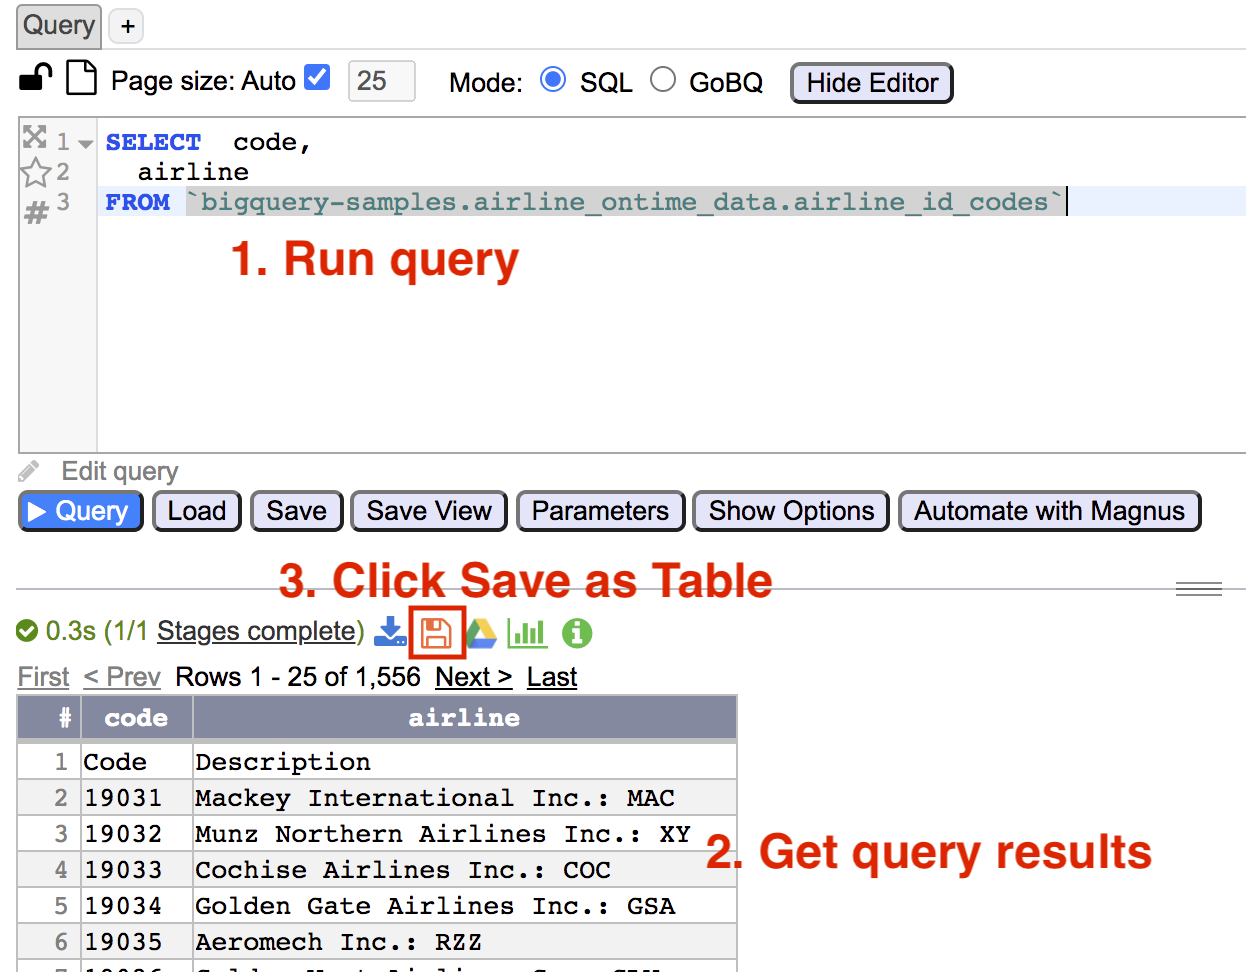
How to Save Query Results as Table
Results from a query can be saved as a table
To save query results as a table
1. Run query
2. From toolbar click Save as Table icon
3. In Save Results As Table popup
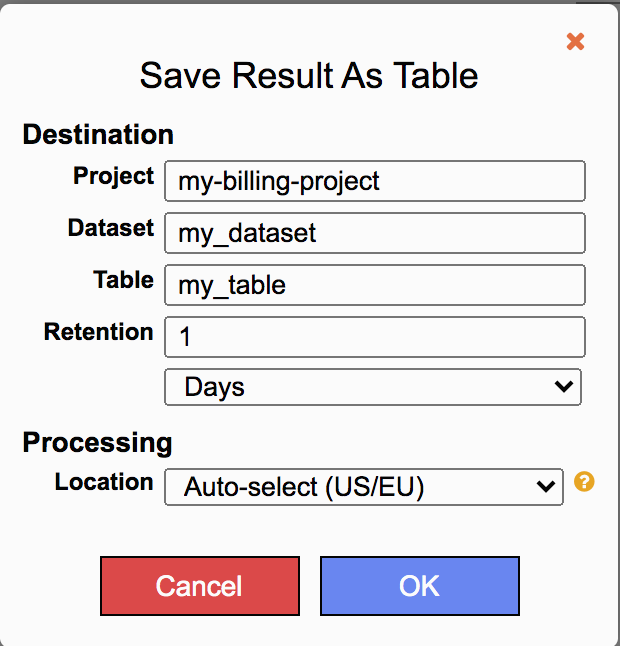
a. Add project name to be saved to
b. Add dataset name to be saved to
c. Add name of the table
d. Add retention in days or hours for the table to expire. If the table is to persist then leave retention blank
e. Select processing location from drop down list.
4. Click OK
How to Save Query as View
A query can be saved as a view
To save a query as a view
1. Construct query
2. Click Save View
3. In Save View popup
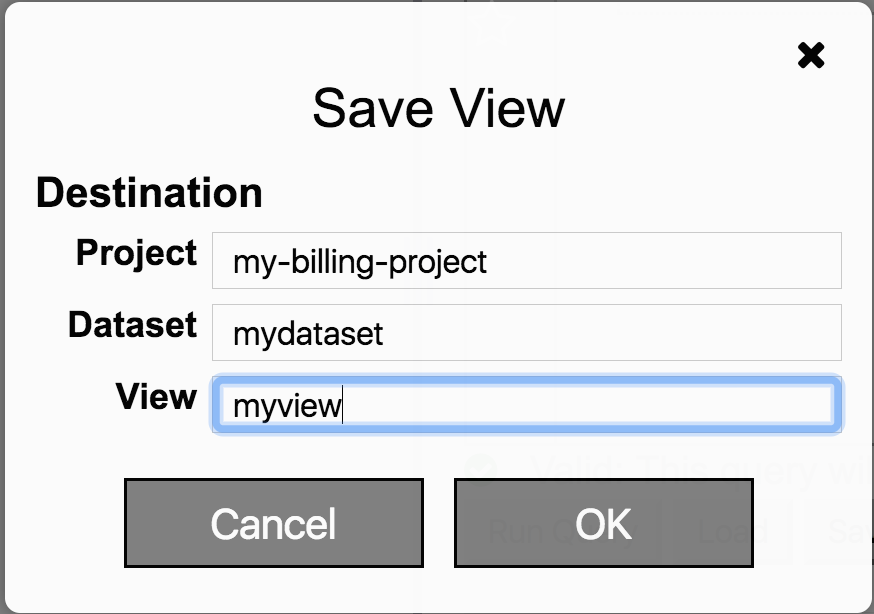
a. Add project name to be saved to
b. Add dataset name to be saved to
c. In View input box add name for the view
4. Click OK