Overview
The Users section is where user access to Potens is managed. In Users, administrators are able to filter and sort existing users, filter by assigned billing projects, add and delete users, assign billing projects, FTP Task access, and grant Admin privileges.
Filter Users
The list of users can be filtered by typing in Filter Users.
- Type values (User ID or Billing Project) to filter
- Filtered List

To clear Filter Users value, click on Clear Filter (x)
3. Click on Clear Filter (x) to clear Filter Users value
4. Unfiltered List

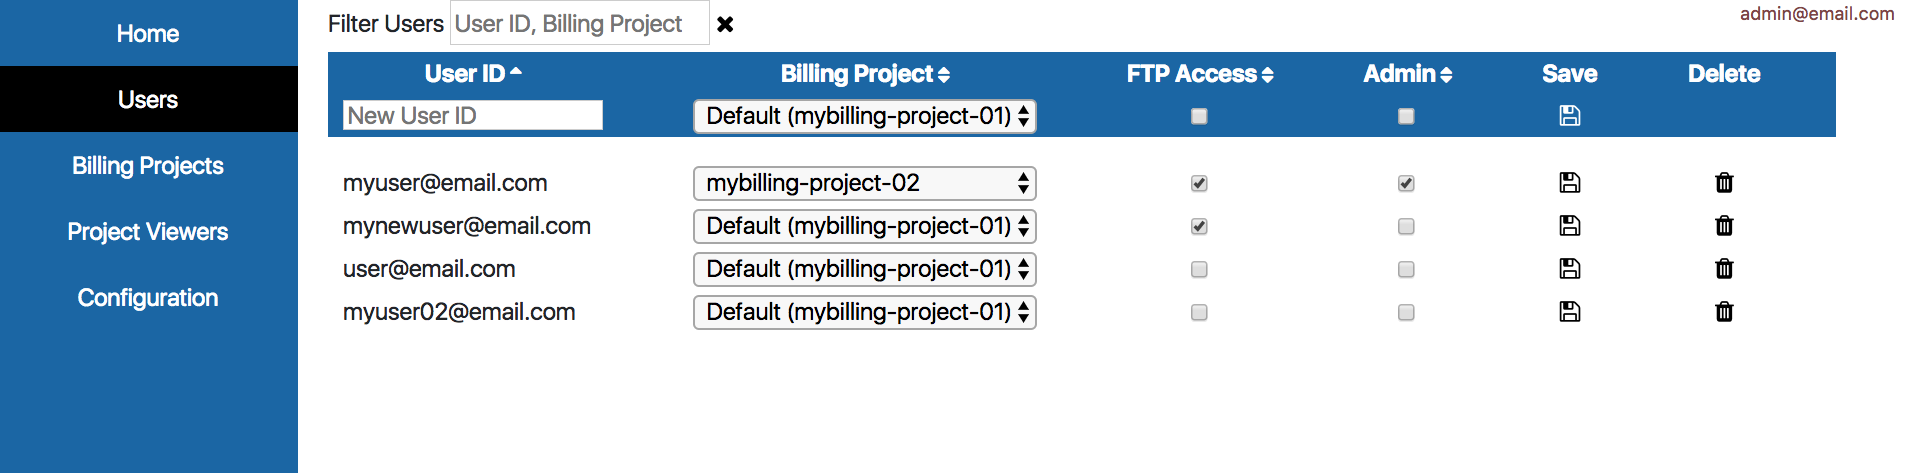
Sort
The User list can be sorted by User ID, Billing Project, FTP Access, or Admin

To sort by User ID, Billing Project, FTP Access, or Admin
- Click on the value to sort by
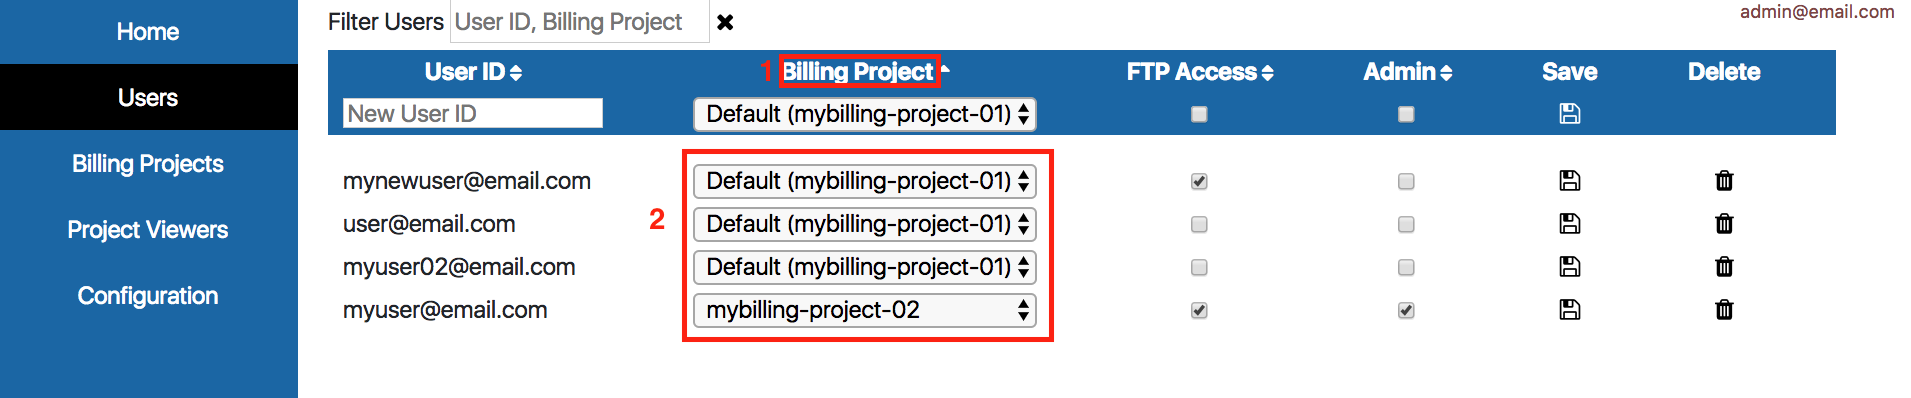
- In this example Billing Project is clicked
- Notice the alphanumeric sorting by selected sort value
Sort icons identify the direction of the sort
 |
Ascending | An image starting with a narrow to wide point indicates that the selected header is sorted by ascending values. These are values from A to Z. |
 |
Descending | An image starting with a wide to narrow point indicates that the selected header is sorted by descending values. These are values from Z to A |
 |
Not Sorted by value | An image showing both arrows indicates that values are not sorted by this header |
Add a User
Access to Potens applications (Magnus and Goliath) are granted to users by adding them via the Users section. A user must have a Google Cloud account that has been granted permissions to a Google BigQuery project.
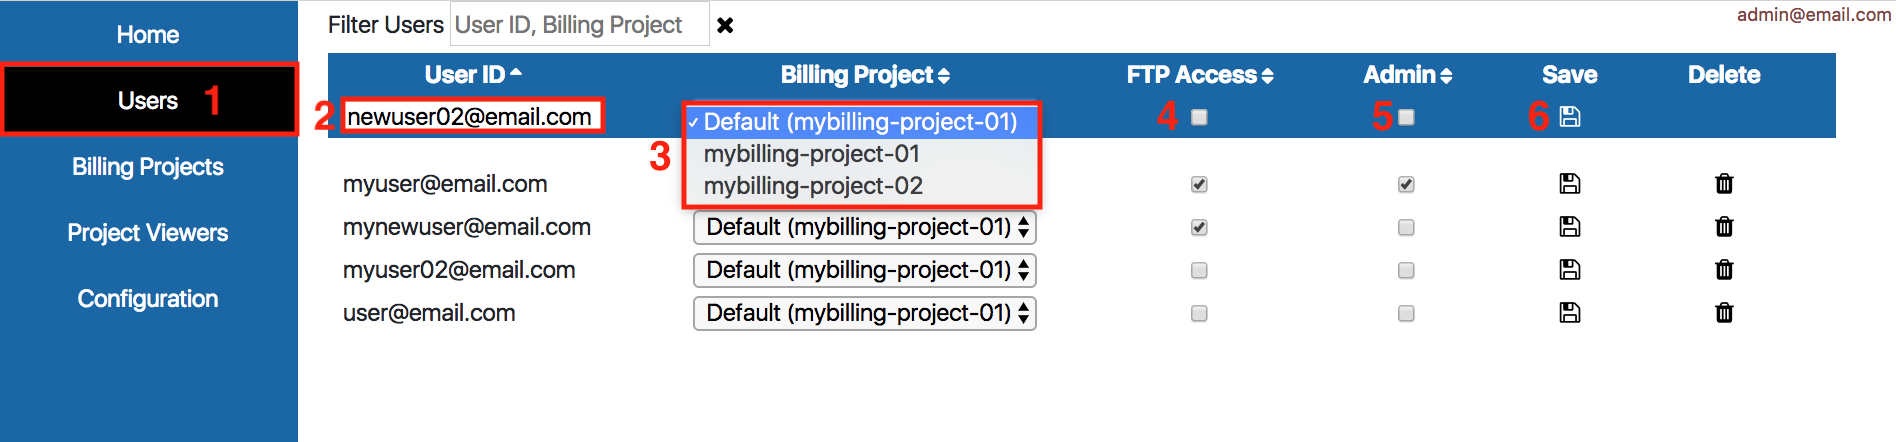
To add and grant a user access to Potens
- Click on the Users section
- In New User ID input box, add the user’s Google Gmail account associated to a BigQuery project
- Assign Billing Project from the dropdown list (see Billing Projects section for adding billing projects)
- Check FTP Access to grant the user permissions to use FTP. Uncheck FTP Access to not allow use of FTP
- Check Admin to grant the user administrator rights. Uncheck Admin to remove administrator rights
- Click the disk icon
 to Save the changes and add the user
To modify user settings
- Identify the user to modify
- Click on the item to change
- Click save
To delete user
- Identify the user to delete
- Click on delete icon
 to remove user
Billing Project
Google Cloud projects allocate resources, authorize users, and store billing information. A project that has billing enabled is regarded as a billing project. All users are required to be assigned to a billing project.
The default billing project is defined in the Billing Projects section. A user added in the Users section is defaulted to this billing project. The default project is identified by Default followed by the billing project in parenthesis. If multiple billing projects are available, an administrator can select and assign a different billing project to the user via the Billing Project drop down.
To assign/change Billing Project
- Identify the user to assign the Billing Project to
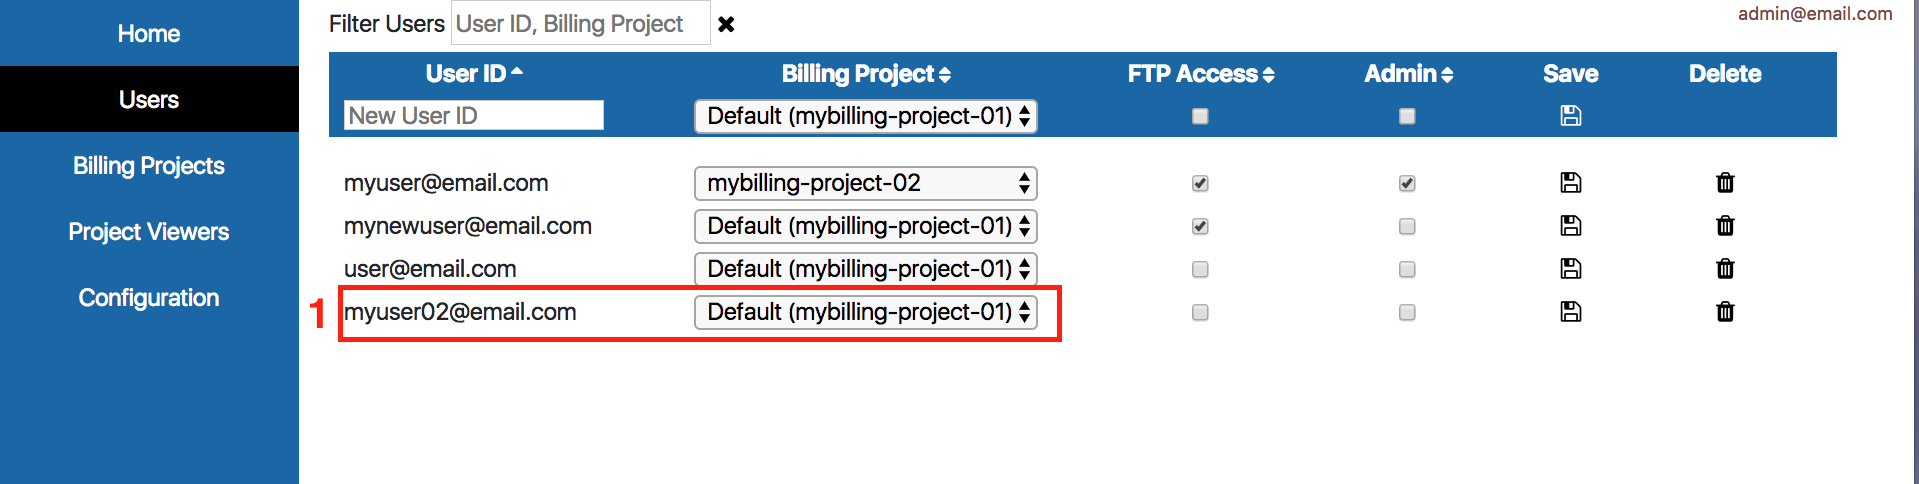
- Click on the Billing Project dropdown list
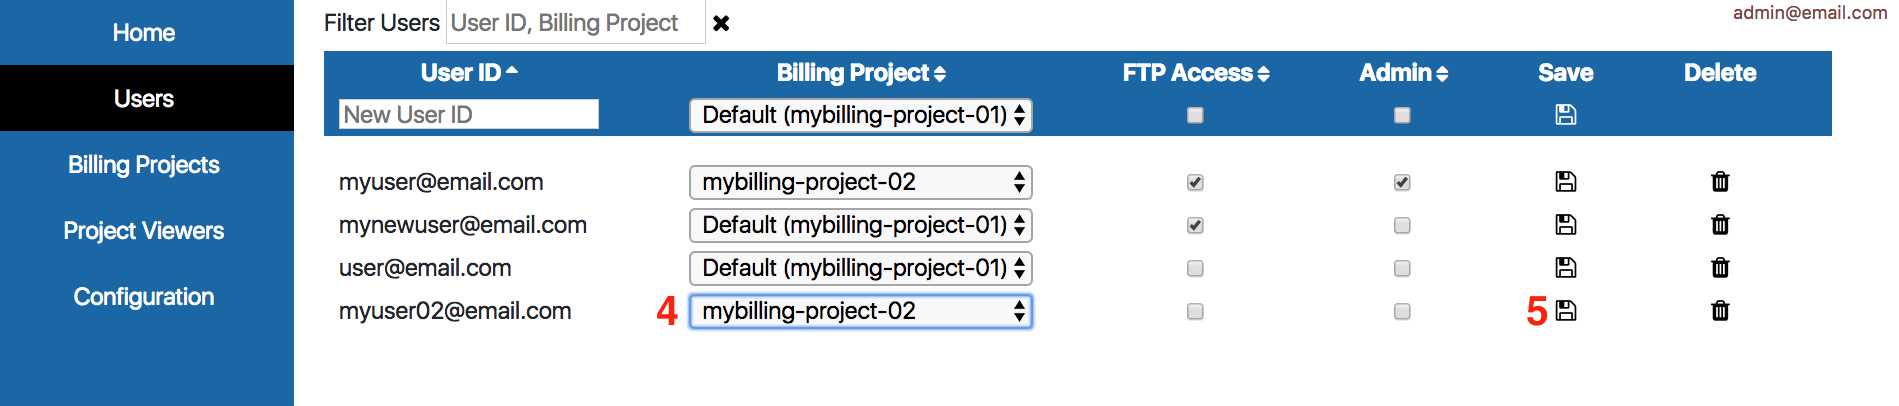
- Select and click on the Billing Project to assign

- Verify desired Billing Project is selected
- Click on the disk icon to save changes
FTP Access

Magnus provides FTP Tasks that enable users to transfer files to and from an FTP server
- Click FTP Access to grant the user the ability to add FTP tasks to their workflow
- Uncheck FTP Access to remove the ability to use FTP Task
- Click save to save changes
Admin

Potens Organization Admin Tool is managed by administrators. At least one user is required to be an administrator.
- Check Admin to set the user as administrator
- Uncheck Admin to remove the user as administrator
- Click save to save changes
Save

Adding a new user or changing an existing user’s Billing Project, FTP Access, or Admin setting requires saving the addition/change to complete.
- Click Save to save a new user or changes to an existing user
Delete

Deleting a user removes their access to Potens applications
- Click Delete to remove a user
Add Service Account as User
Service accounts and private keys can be created in the Google Cloud Platform. The private key files can be downloaded from GCP and used in Potens Admin Suite.
To add Service Account and Upload Private Key
- Access Admin Suite and Navigate to Users section
- In New User ID input field add and save the service account email address.
Service accounts contain gserviceaccount.com as part of the domain name. The Admin Suite automatically identifies that a service account is being added and will present a form prompting to upload the private key.
Upload a JSON private key
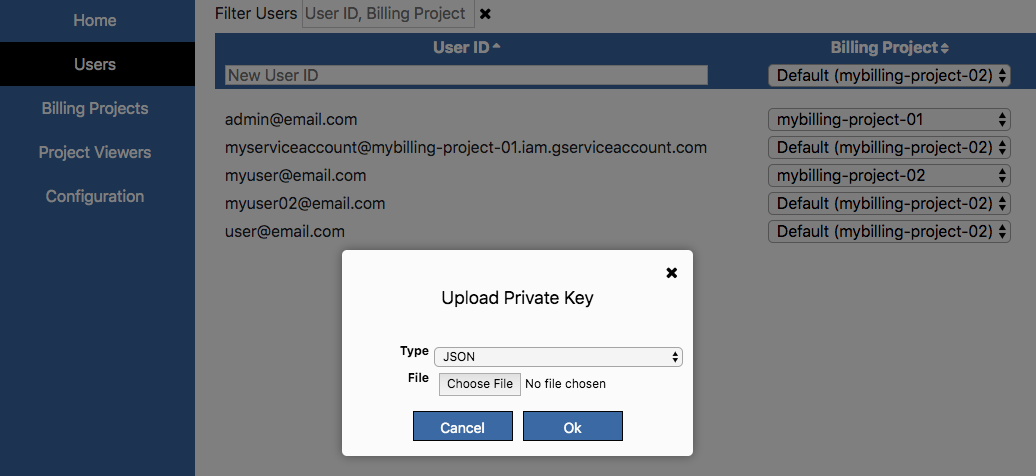
- In the Type dropdown select JSON.
- In file, click Choose File and select the JSON file saved locally.
- Click Ok to upload the file.
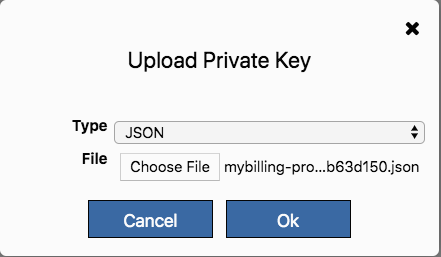
- On success, a popup will indicate a successful file upload. On failure, a popup will display failure along with an error message.
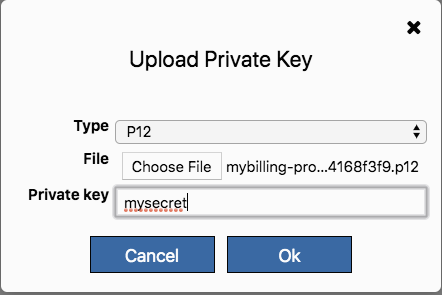
Upload a P12 private key
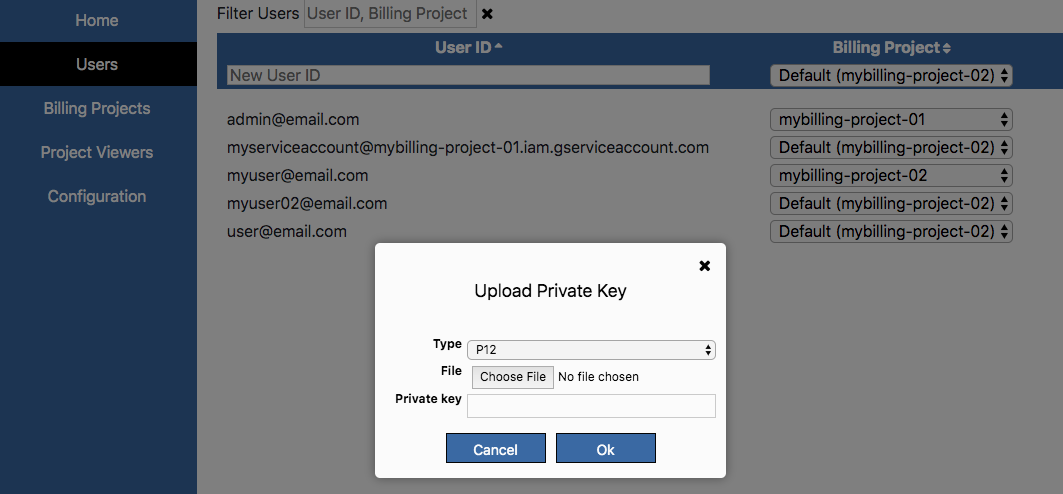
- In the Type dropdown select P12.
- In file, click Choose File and select the P12 file saved locally.
- In the Private key field, add the secret key value specified when first creating the P12 key in GCP.
- Click Ok to upload the file.
- On success, a popup will indicate a successful file upload. On failure, a popup will display failure along with an error message.
Register HMAC Key of Service Account
HMAC keys of service accounts can be created in Google Cloud Platform. HMAC keys are required for authentication when calling certain Magnus Remote APIs such as the Sign Urls API.
-
Create HMAC key from Google Cloud Platform (if you already have an existing HMAC key to use, skip this step):
- Go to Google Cloud Platform for the project that the service account is created in: https://console.cloud.google.com/home/dashboard
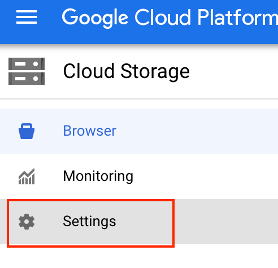
- Navigate to Cloud Storage
- Click on Settings
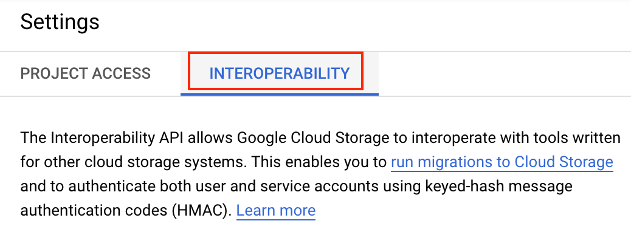
- Click on Interoperability
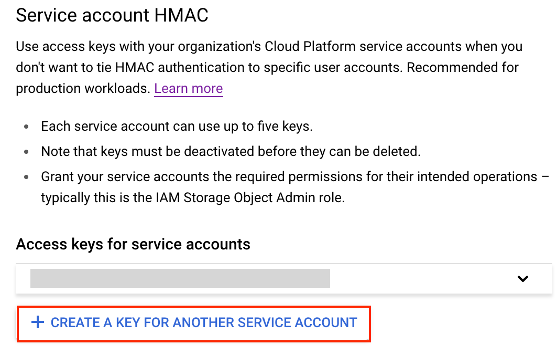
- Under Service Account HMAC, click “Create a Key for another service account”
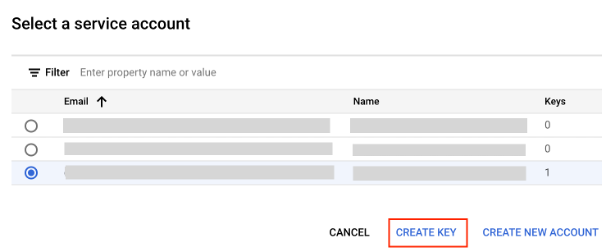
- Select the service account and click Create Key
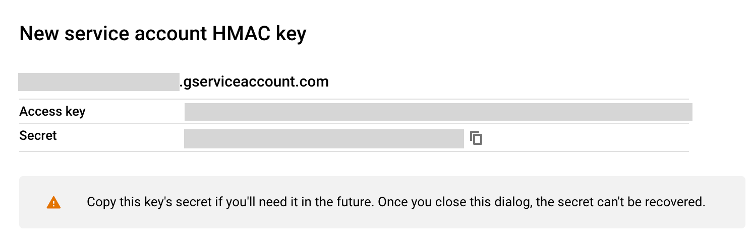
- Remember the Access Key and Secret
-
Register HMAC key of the service account in Potens
- Make sure you have the email of the service account, Access Key, and Secret of the HMAC key.
- Access Admin Suite and Navigate to Users section
- Find the service account
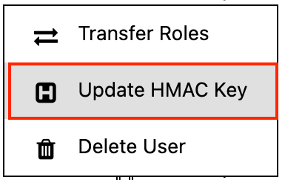
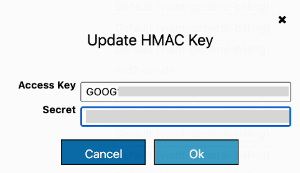
- From Action column, click Update HMAC Key
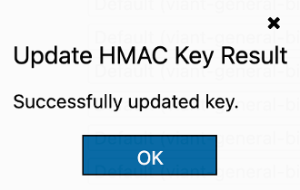
- Enter the Access Key and Secret of the HMAC key and click OK
- You will see this message when registration is completed.